In theory, recording on a Samsung Smart TV is easy. But many people report Samsung Smart TV recording problems, ranging from failed recordings to greyed-out menu options.
This article will teach you how to record on a Samsung Smart TV and resolve the most common issues.
Issues While Recording on Samsung TV
What you will find in this article
ToggleThere are several reasons you may experience Samsung Smart TV recording problems. These are the most common.
Video Recording Is Not Active
One of the primary causes of Samsung Smart TV recording problems occurs when the DVR sends you the message ‘video recording is not active.’ This can be frustrating but is easy to fix.
To enable video recording on a Samsung TV, navigate to the television’s DVR service and consult the settings. For a Samsung Smart TV recording to work, the DVR setting must say ‘Enabled.’
If it doesn’t, toggle through the options until it does. Note that depending on your recording region, your Samsung TV may automatically be set to ‘Disabled.’

Flash Memory Problem
If you try to make a Samsung Smart TV USB recording, sometimes it throws up a flash memory error.
That sounds cryptic and confusing to the layperson. At its simplest, your Samsung TV runs a pre-emptive check to ensure that your USB has the software to keep pace with the recording. If it fails that test, you may see a message that reads something like, ‘Flash Memory Failure.’
The best way to ensure this doesn’t happen is by double-checking the specs on your USB hardware. Note that newer USBs almost always pass the Samsung TV recording check, while older USBs or USBs with limited storage space struggle.
Another reason for Samsung TV recording problems related to the flash memory of a USB is storage space.
Your USB may pass the initial test but be too full to record more television programs. When that happens, you can resolve the problem by clearing file space.
Failed Schedule Recording
Sometimes users experience a Samsung Smart TV recording problem where they schedule a recording but it doesn’t go ahead.
For most of these users, the Samsung TV was on standby at the time. In theory, a Samsung TV can record while switched off. What should happen is that the scheduled program overrides the TV’s standby setting and records the program.
If it doesn’t, start by checking your DVR settings and confirming they read ‘Enabled.’
If they are, check for updates. Ideally, these Smart TVs live up to their name and work flawlessly. But nothing is perfect and glitches happen. Samsung is prompt about fixing them, so to check for updates, use your remote to navigate to Settings.
In Settings, select Support. From there, choose Software Update. If there is a software update, click Update Now.
Once your Samsung TV begins updating, it may take several minutes to complete. You must leave your TV on while it does this. Once the update finishes, the TV will restart, and you can try scheduling a recording again.
Video Recording Unavailable or Greyed Out in Menu
Another Samsung Smart TV recording problem many people experience at some point is that they can’t select Video Recording from the menu.
Usually, if a menu option becomes inactive or unselectable, it’s because the Samsung Smart Hub interferes. To fix this, press and hold the Back/Return button on your remote until it brings up the previous screen.
Doing this should automatically close the Smart Hub and fix the recording problem.
If you continue to experience issues, go into the DVR settings and check to see if you have them set to Enabled. If they aren’t, you won’t be able to record, and the option will remain grayed out. You can toggle the DVR settings to Enabled using the arrow keys on your remote.
Sources That Can Record on Samsung TV
One thing to remember when creating a Samsung Smart TV recording is that the tv has minimal internal storage. Consequently, to successfully record live TV, you need an external source.
The most effective way of recording on a Samsung TV is by using either a USB with 2.0 compatibility or an external hard drive.
Both are effective, but because recordings take up considerable space and because hard drives have more room, many people favor them for recordings.
Crucially, you must connect these sources to your Samsung TV via one of the input ports.

Recording TV Shows Via USB
But how do you record TV shows on Samsung Smart TV? There has to be more involved than attaching your USB drive and hitting Record.
Hardware Setup
The first step is to ensure you have all the hardware. Your USB is a crucial part of this, but you also need:
- Smart TV remote
- Source of channel reception
- Enough free storage space to record
Remember, the larger your USB, the more effectively it operates when recording on your Samsung TV.
Once you have everything necessary, connect the USB to the USB port. Typically, you find this on the back of a Samsung Smart TV.
Channel Setup
The next thing you need to do is queue up the channel you want to record. As long as you have a source of channel reception, this is easy. Punch the relevant channel into your remote, and it should appear on the screen.
Recording
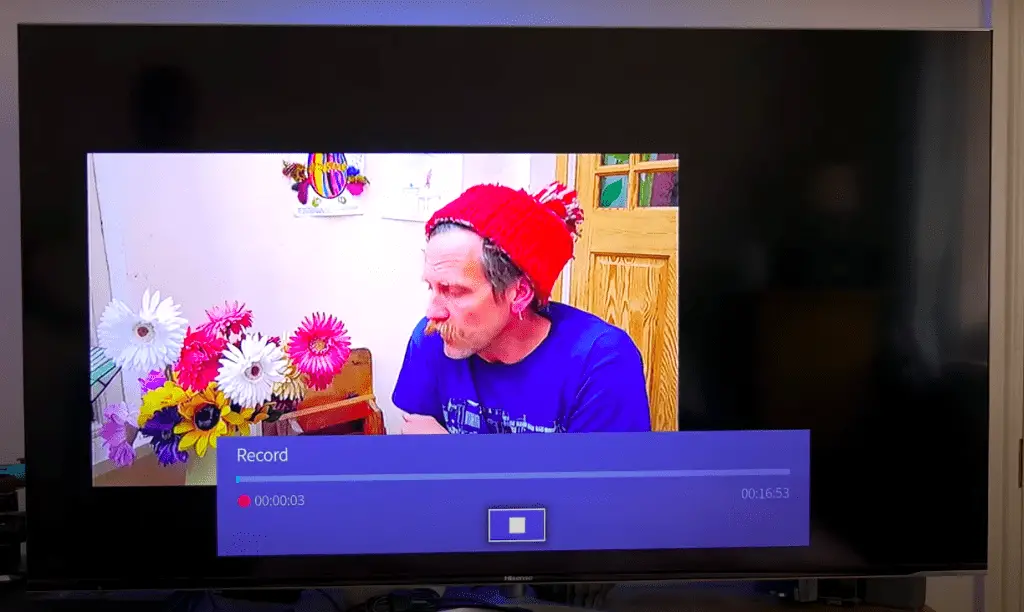
Now press Record. On our remote, this is a red circular button to help it stand out from the others, but it varies depending on the generation of your Samsung TV.
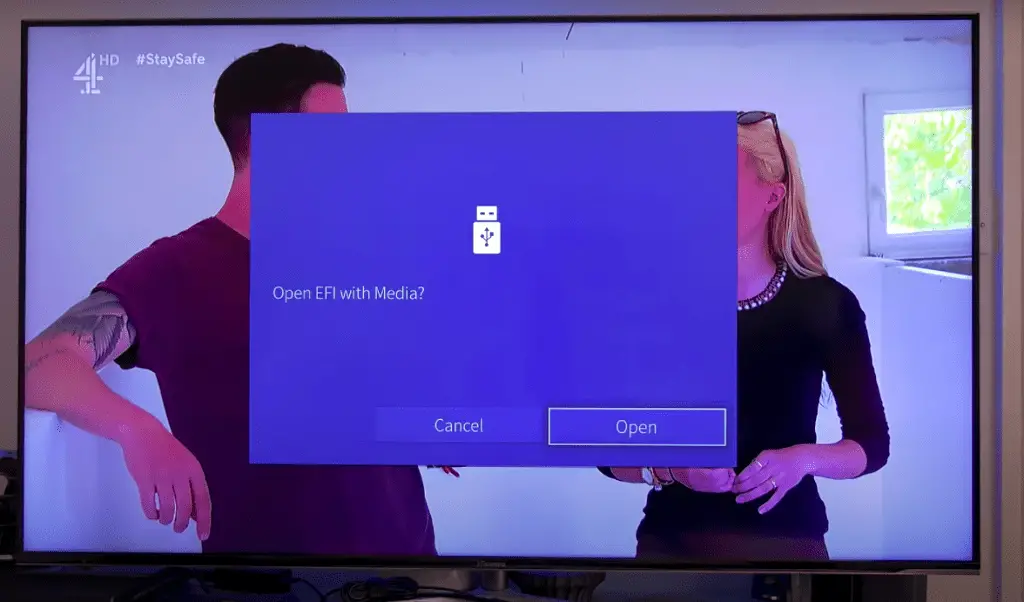
The TV then scans your USB device to ensure it can record successfully. Allow it to proceed with this check. Depending on the age of your Samsung Smart TV, the time this takes averages between 30-45 seconds, so don’t worry if the recording doesn’t start immediately.
Pros of Recording Via USB
So, that’s how to record on a Samsung TV via USB. But why should you do it? There are several reasons to recommend the process. These include:
- No need for technical expertise
- Doesn’t require additional software downloads
- The process is straightforward
Cons of Recording Via USB
That said, there are drawbacks too. The things people find most frustrating about recording on a Samsung Smart TV are that:
- You can’t always select picture quality
- Not all USB devices are recognized by TV
Schedule Recording on a Samsung Smart TV
Sometimes you record one program while watching another. But other times, you want to schedule a recording. Maybe you’ll be out of the house, or the program comes on late at night.
Here’s how to schedule a recording on a Samsung TV.

Steps for Schedule Recording
Start by pressing the home button on your remote.
From Home, select Live TV. Once there, select Schedule Manager.
The Schedule Manager has several tabs. The one relevant to you is Add Viewing or Add Recording.
From there, you can tell the television what channel you want to record and when. It will also give you the option to schedule multiple recordings in the same time slot and on the same channel. This can be helpful if you want to record multiple shows or episodes.
Software for Recording From Samsung TV
Earlier, we discussed the hardware you need to record on a Samsung Smart TV. But what software do you need?
Built-in DVR Software
All Samsung Smart TVs have built-in DVR software. While some more recent models include limited internal storage, it’s difficult to store programs on your Samsung Smart TV.
Note that while the DVR software allows you to record programs, it’s only effective on cable and satellite channels. You cannot use it to record shows on:
- Encoded channels
- Netflix
- Amazon Prime
Conclusion
To record TV shows on Samsung Smart TV you need a combination of hardware and software.
It’s not a complicated process, but that doesn’t stop the occasional error message from popping up.
Solutions for resolving your Samsung Smart TV recording problems vary depending on what’s wrong with the TV or remote. But the best place to start is your recording settings. Remember, if they aren’t enabled, you can’t record.
If you’re still experiencing problems with your Samsung Smart TV’s recording function after trying our troubleshooting tips, don’t hesitate to contact our support team. Our dedicated technicians are here to help you get your TV back to normal and ensure you have an enjoyable viewing experience. Contact us today to get the support you nee
FAQs
Still unsure how to resolve your Samsung Smart TV recording problems? Here are other questions people also asked.
While a Samsung Smart TV does have voice recognition software, it is turned off by default. That means a Samsung Smart TV cannot record your conversations unless you tell it to.
To record a show on your Samsung Smart TV start by turning to the appropriate channel.
Then press the record button.
To schedule a recording, you need to call up the Home screen and go to Live TV. Once there, find the Schedule Manager.
The Schedule Manager has several options. Toggle through them until you find Add Viewing or Add Recording. Select it and indicate which channel you want to be recorded and at what time.
Start by connecting your USB flash drive to the television.
Then select the channel you want to record. Press either Record or the 123 button, depending on the version of the Samsung Smart TV you own.
The TV will briefly scan your USB flash drive to ensure it can successfully record the program. Accept the prompts as they appear, and allow 30-45 seconds for the TV to test your device.
If it succeeds, your Samsung Smart TV will start recording. It can do this in Standby or while you watch another channel.
More content related
Samsung TV spinning circle? Find solutions here
Everything you need to know about the caller id on Samsung TV
Samsung TV blue color problems. (Try THIS Fix First)
Is Samsung TV stuck on terms and conditions? Find solutions here
