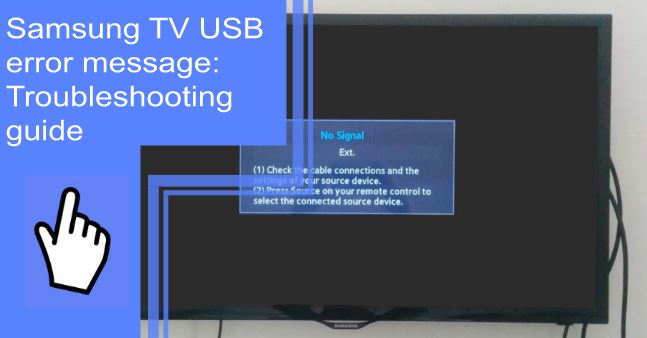
Samsung TVs have great features and offer high-quality content. However, one of the most frustrating problems when using a Samsung TV is receiving a Samsung TV USB error message. This article will explain the steps you can take to troubleshoot this issue.
Troubleshoot USB error messages when updating
What you will find in this article
ToggleIf the USB stick is removed or the power is turned off before the second reboot has been completed, a USB error icon will appear on the screen. To troubleshoot the issue:
- Resist removing your USB Memory drive from its port.
- Do not disconnect the power cord.
- Do not turn the TV off.
Removing your USB Memory drive or disconnecting the power cable may result in a firmware error or failure of the main board. This is not covered under Samsung’s warranty policy.
The error can be resolved by reinserting the USB stick containing the most recent firmware file. The update will then be performed, and the issue will be automatically fixed.
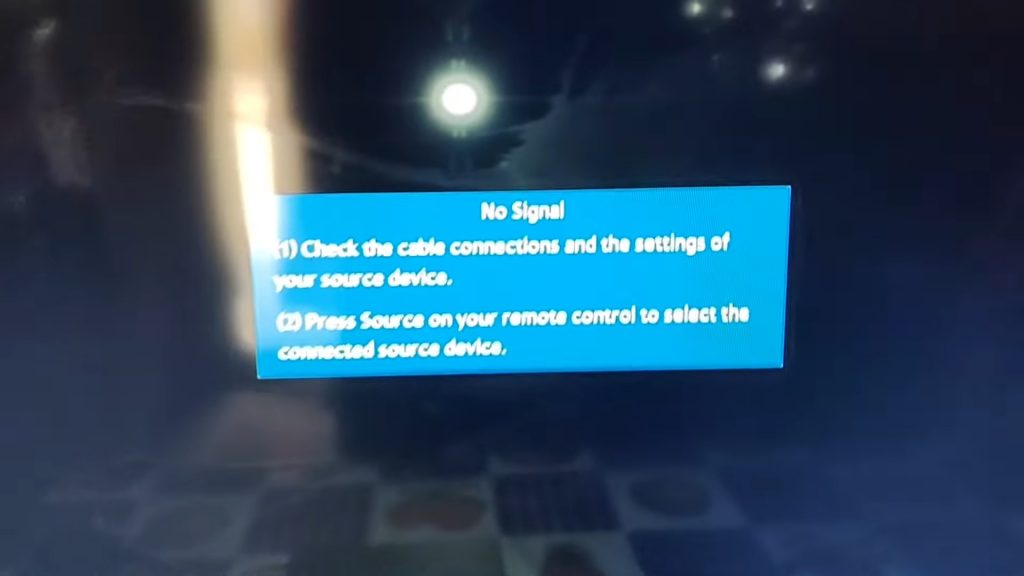
Samsung Smart TV USB Flash Drive Not Working
The most effective solution is resetting your smart TV. For example, to reset your Samsung TV if it stops recognizing external storage devices:
- Go to Menu > Settings > General > Reset > Enter 0000 for pin > Reset.
1. Why is my Samsung TV not reading my USB?
There may be several reasons behind it. For example,
- If more than one USB drive is attached to the Samsung TV, the TV may not recognize any of them.
- It may also be due to excessive files and folders on the USB device.
- Faulty USB storage file system.
- Invalid file list or one of the listed files is not being played.
2. How to solve the USB drive not working on Samsung Smart TV?
There are two options for solving this problem. One formatting Samsung TV USB flash drive, and another is a factory reset of the TV.
i. Format the Samsung TV USB flash drive properly
A complete reformat of a flash drive may be necessary to make it compatible with a Samsung Smart TV. To do this
- Insert the flash drive into a Windows computer where versions 11/10/8.1/8/7/XP/Vista are supported. On that device, AOMEI Partition Assistant must be installed and activated.
- Select Format Partition from the right-click menu while working with a USB flash drive.
- Here you can set the Partition Label, select the appropriate File System, and set the Cluster Size.
- Hit Apply > Proceed to apply the changes.
You should back up any critical data before formatting the USB device. After formatting the USB, it is difficult to restore the files.
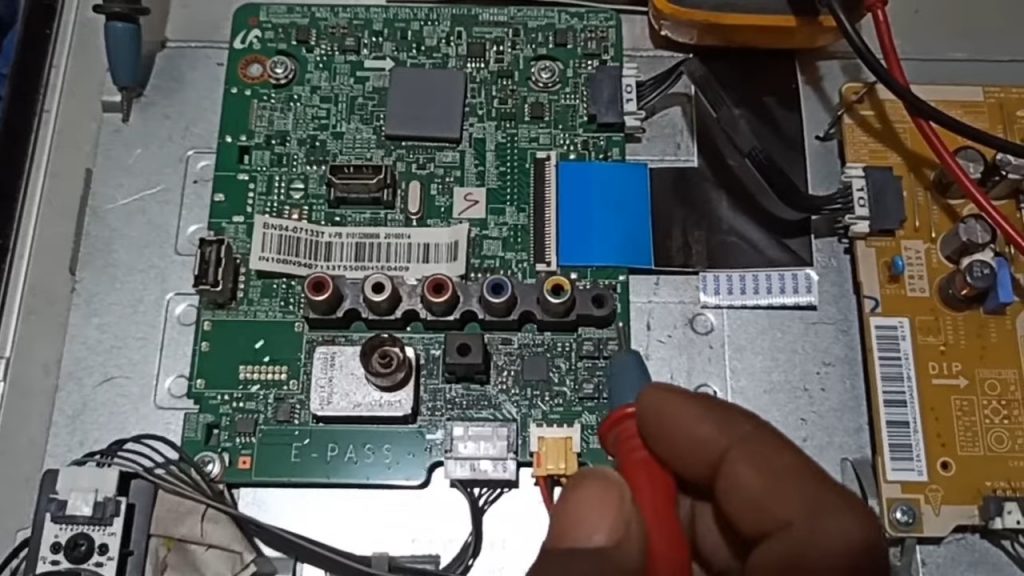
ii. Factory reset Samsung TV
If you’ve eliminated the USB drive as a possible culprit, resetting your Samsung TV to factory settings may be your next best option. However, this action will reset your TV’s original settings, so proceed cautiously.
- Turn on Samsung TV, and press the menu button on the remote.
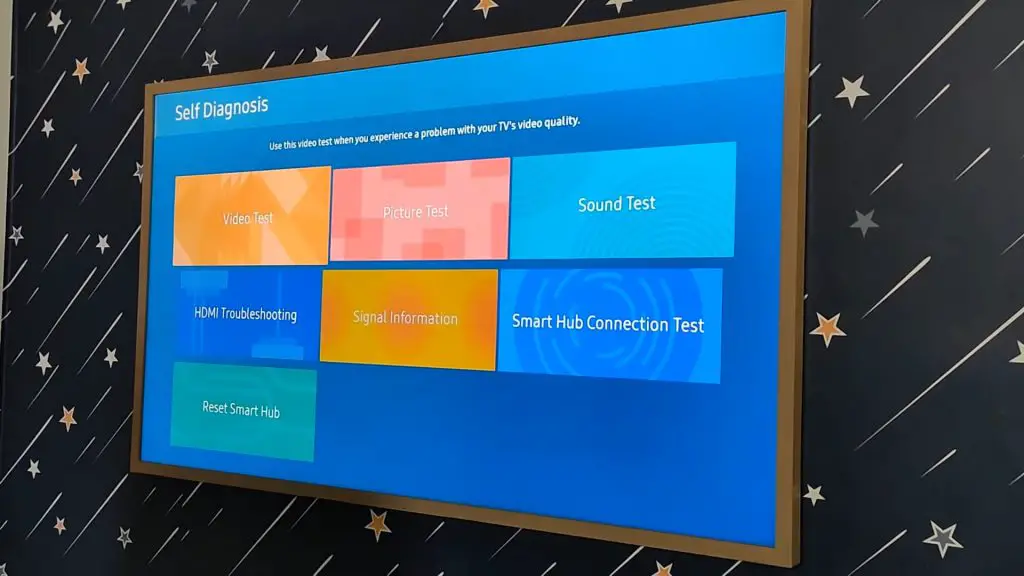
- Follow the on-screen prompts to reset your device by going to Self Diagnosis > Support > Reset and pressing Enter.
- If you haven’t set a security PIN for your TV, the factory default is 0000. You should then confirm the action by clicking the Yes button.
How can I manually update the firmware version on my Samsung Smart TV?
These two simple steps will show you how to update your Samsung device manually:
1. Get the latest firmware from Samsung’s support page
Before doing anything else, head to Samsung’s official website and download the latest firmware update for your device’s model. You must first locate the model number of your Samsung device. Using the model number of your device, you can find the appropriate firmware update.
2. Update your Samsung Smart TV’s firmware
It is a compressed file that you downloaded from Samsung’s website. Microsoft Windows machines can only unzip the EXE file. Extract the zipped file and run it. When prompted, choose a USB disk as the location to unpack the archive.
- Turn on your Samsung TV.
- Plug the USB drive containing the unzipped file into your Samsung device’s USB port.
- Make sure no other USB devices are attached to your Samsung TV.
- Click the “MENU” button on your remote to access the settings menu.
- Select “Software Upgrade” from the Support menu’s final tab.
- Then, choose “By USB” from the available methods. The message “Scanning for USB…” will show when the USB is detected. Please allow more than 1 minute for this.
- You must not turn off your Samsung device or remove the USB disk during this procedure.
Whenever an update is installed or finished on your Samsung TV, it will automatically power down and restart. Now, you have successfully updated to the most recent Samsung-provided firmware.
3. Update Samsung TV Software Automatically
Samsung TVs can now automatically update their software. In addition, connecting the TV to the internet allows automatic software updates to be installed without interrupting your viewing experience.
Once the update is complete, it will be activated the next time the TV is switched on. Auto Update will be toggled to the On position without needing further action after you accept the Smart Hub Terms and Conditions during the initial setup.
- To get support, go to the Settings menu.
- To disable or enable Automatic Updates, go to Software Update and Auto Update.
All the new features will be added to TVs every two years. So updates are still possible, but their primary purpose will be to fix bugs.
4. Update Samsung TV Software Manually via the Internet
If you want to get the most out of your TV, install the latest updates as soon as they become available.
- Select Support from the Settings menu on your TV’s remote.
- You can update the software using Settings > Software Update > Update Now.
The television will automatically download and install any available software upgrades. Before turning off the TV, wait a few minutes for the update to complete. After the software update is complete, the TV will restart by itself. If no further changes are required, click OK to close.
Update Samsung TV Software Manually via USB
Part 1: Using MiniTool’s Partition Wizard to format your USB drive
At first, you’ll need to convert your USB file system so the TV can read it. For this purpose, File Explorer, Disk Management, and the Command Prompt are all valuable tools. However, these tools may alert you to formatting errors. In addition, these programs cannot format a drive greater than 32GB to FAT32. Therefore, MiniTool Partition Wizard should be used as a highly recommended tool.
With the help of this tool, you can create cells, unhide partitions, move/resize partitions, extend sections, migrate operating systems to solid-state drives or hard drives, and convert dynamic disks to basic disks.
By following these steps, you can format your USB drive using MiniTool Partition Wizard.
- Start MiniTool Partition Wizard after inserting the USB drive into the computer’s USB port.
- Click Format in the MiniTool Partition Wizard main interface after right-clicking your USB.
- Select FAT32 in the pop-up window, and then hit OK to process the changes. As you can see, most Samsung TVs accept FAT32 files. Therefore, the FAT32 file system is recommended.
- Apply now to complete the pending process.
Using MiniTool Partition Wizard, you can convert NTFS-formatted USBs to FAT32.
Part 2: Download and unzip the Samsung TV software update
To get the firmware files onto a USB, follow the instructions below.
- Once you find the right make and model in the list of suggestions from the Samsung website, click on it. You can use the Samsung manual if you need help remembering or locating your TV’s model number.
- Look at your Samsung Smart TV’s specifications. From this screen, choose the Download option after locating the desired Firmware. As a rule of thumb, always use the latest firmware version. To avoid problems, you should check the USB’s storage capacity and ensure it can accommodate the target firmware’s size.
- Unzip the firmware files after downloading the Samsung TV software upgrade. It is important to note that the firmware files should be kept in the root directory on your USB drive. If not, your Samsung Smart TV won’t be able to find the necessary firmware update.
- Disconnect the USB from your computer.
Part 3: Installing Samsung Smart TV firmware
- Ensure that your Samsung Smart TV is equipped with a USB port. Check that all the USBs you have are not plugged into any of the Samsung Smart TV’s USB ports.
- Using the remote for your Samsung TV, click the Home/Smart icon and then select Settings from the menu that appears.
- You should use the remote to pick the Support option from the Settings menu display.
- At this point, you need to select the “Software Update” option.
- Choose Update Now on the remote, and then select Yes when prompted.
- Using the remote, select the USB option, and you should get a message that reads “Scanning USB.” Then, on the display of the Samsung Smart TV comes the message “This may take more than 1 minute.”
- When installing the most recent software, make sure to follow all of the on-screen directions. When updating the firmware on your Samsung TV is complete, your television will restart by itself. Similarly, it would be best if you didn’t switch off your TV before installing the update is completed.
- You will need to re-enter the Software Update interface and pick the Update Now button to determine whether or not the update was successful. After that, the television will indicate that you are currently using the most recent software update.
Samsung TV won’t update from the USB
You will have to update manually with a TV remote in this case. Using the remote control that came with your TV, go to the Settings menu and then click Support.
- Choose Software Update, and then click the “Update Now” button.
- On your TV, the latest updates will be automatically downloaded and installed.
- Do not turn off the TV until the update has finished; updates often take a few minutes to complete.
We hope that we have provided the most effective troubleshooting steps for the Samsung TV USB error message. Now you can easily resolve the issue. You should update your USB and TV software when necessary. Don’t forget to factory reset or format your Samsung TV if required.
FAQs
This problem is often caused by an inactive USB port, a broken or corrupted USB device, incorrect settings, software conflicts, or malfunctioning or outdated software.
1. Connect a USB storage device to either a USB port on the rear of your TV or the Mini One Connect on the back of your TV.
2. A pop-up message shows on QLED, SUHD, and Full HD TVs, enabling you to navigate quickly to the multimedia content list.
3. After that, you can look through the list and choose an item to play.
4. On your remote, select Source by pressing the button.
5. After that, pick the USB Device.
6. To connect a device, press the HOME button on your remote, scroll to Source and select USB Device / Connected Device.
7. Navigate to the media file you want to play and select it.
8. To display the control panel, make sure the Enter button is pressed.
9. If you intend to watch another piece of media stored in your USB device, hit the Return button on your remote, and the system will take you back to the MY CONTENT page.
1. To access the menu, tap the three-dot bars on the home screen’s left side.
2. Notices can be accessed through this interface.
3. Tap the gear icon to access the Settings menu, then swipe the switch to the off position next to the word “Notifications” to disable the feature.
Either your TV needs an update, or your USB is incompatible with your TV.
