Have you experienced the horror of your Samsung TV popped and won’t turn on? Having a Samsung TV pop and not turn on is a very common issue. There are many possible solutions to this problem that you can try out, which are outlined in this article. Read this article to find out what caused it and some quick fixes for the problem.
Samsung – Loud pop, won’t turn on
When a power supply makes a clicking sound, it usually means it is trying to reset itself but ran into a problem caused by a faulty component. It is possible that additional parts were damaged simultaneously with the one you replaced.
- Disconnect the TV’s power cord and turn it off.
- Check the power board for a printed diagram showing the voltage levels for each wire leading to the mainboard after connecting the mainboard.
- Voltages at the connector can be measured after the TV has been turned back on.
Samsung TV Makes Clicking Sound and Won’t Turn On
Having the TV not turn on and making the clicking sound is even more disruptive. Here are some solutions,
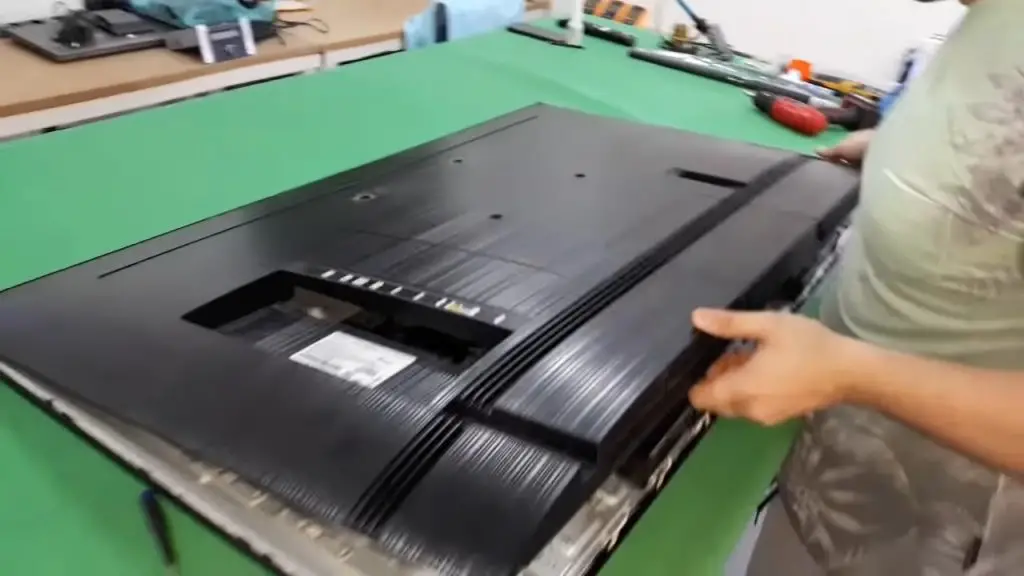
Step 1: Remove the Stand
You should take down the TV stand after turning off the power and disconnecting the cables. Unbolt the mounting bracket from the back of the TV if your TV is mounted on the wall.
By removing four screws, the TV stand can be detached from the set. However, it is still a good idea to have a helping hand while unscrewing the stand, even though the TV is secure both on and inside the stand.
Step 2: Remove All Screws That Attach the Back Casing of the TV
If the screw head is stuck to the TV, a flat-blade screwdriver or pliers can pry it away while holding the receptacle still enough to turn the screw out. Unscrewing the screw requires pulling firmly for a few seconds but is not hard enough to break anything.
Step 3: Remove Wiring Harnesses From Circuit Board
Detach the circuit board’s wiring from the board itself. Next, remove the circuit board’s seven individual wire harnesses. To detach them, simply pull on the connector clip (not the wiring) to disengage it.
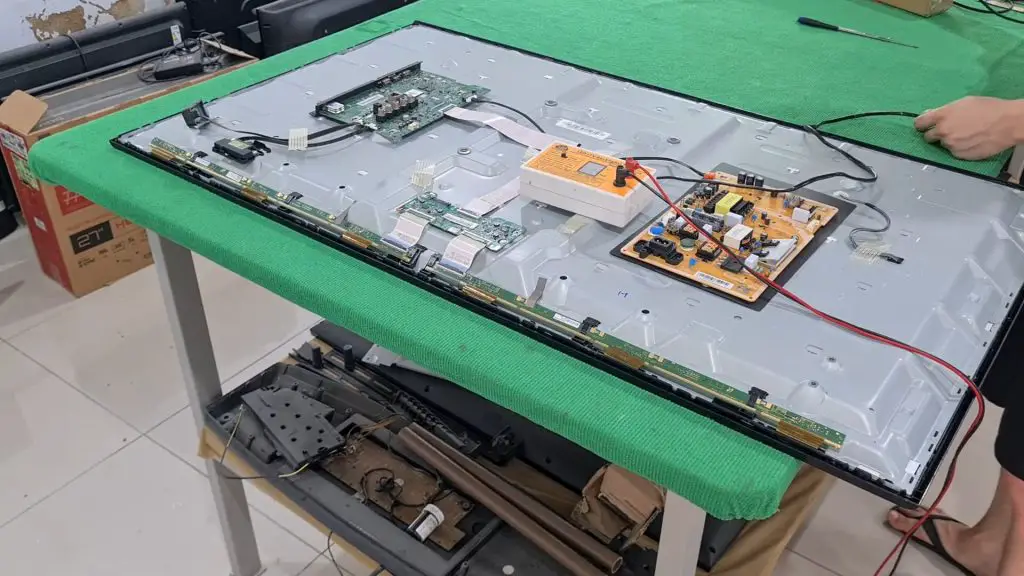
Step 4: Remove Screws Holding Down Circuit Board
Pull the board out of the TV’s chassis by removing the six screws. Even though this is a power supply board and is not very delicate, it is best to handle it carefully.
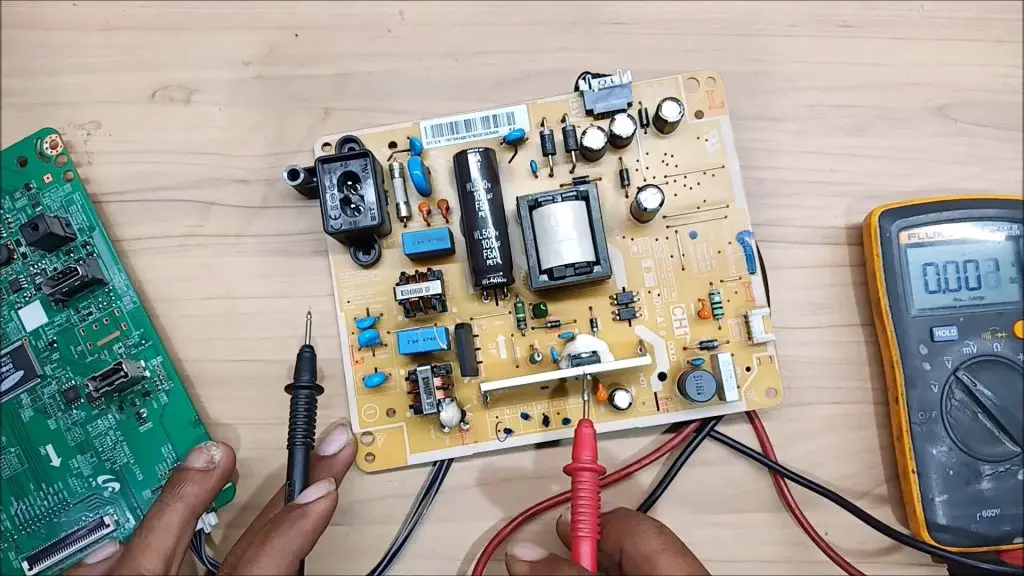
Step 5: Identifying the Problem Capacitors
Use the multimeter to determine how much voltage is on the leads of the capacitor. The reading should be close to 9 volts. Because the capacitor is drained through the multimeter, the voltage will drop quickly to 0V. If the capacitor can’t hold that voltage, it’s broken and needs to be replaced. There are also two indicators of a Bad Capacitor:
1. Bulging Vents
Due to the chemical change inside a failing capacitor, hydrogen gas can generate. Aluminum cans are cut with vents. They rupture and release the accumulated gas inside capacitors. A failure may bulge at the top.
2. Leaking
Fluid leakage is another indication of a failing capacitor (electrolyte). An orange or brown discharge may come from the capacitor’s top or bottom. A bulging capacitor is a common sign of leaking. Contrarily, a capacitor may swell but not leak.
Step 6: Removing and Replacing Capacitors
Before removing the previous capacitor, verify its voltage, temperature rating, and capacitance. Then, to keep the gadget working, you must replace it with a capacitor of the same value.
Find the soldering point of the capacitor. Apply the hot tip of your soldering iron directly to the soldering back of the capacitor. Press firmly on the soldering iron to remove the capacitor from the board. Disconnect the wires and remove the capacitor.
Therefore, a soldering wick should be used to clean the circuit board’s backside of excess solder. The faulty capacitor must be carefully removed by positioning a hot soldering iron in the correct spot. Using a pair of wire cutters, shorten the new capacitor’s leads until they are parallel and roughly the same height as the old ones.
Place the new capacitor’s leads in the slots left empty by the old one. Make sure the polarity is correct. Once again, place the tip of the soldering iron directly on the connection circuit board. As soon as the iron’s point enters the hole, press the wire’s end through it. Replace the opposite side and do it again. If the joint needs more solder, apply some.
Using Solder Wick
A solder wick is used to remove the solder by placing the wick’s end over the solder and then applying heat with a soldering iron. Due to the increased temperature, the braid “wicks” the solder. Then, it begins to function, and you can see the solder drawn up into the solder wick. Cutting the wick’s end at an angle provides a sharp, focused tip that is useful for working with tight spaces between joints.
uF (Micro Farads)
It’s best if the uF and T ratings match perfectly. A capacitor with a higher uF rating can be substituted if it is within 20% of the original value.
Temperature
You can go higher, but not lower, than the recommended temperature.
Voltage
Replace the old capacitor with another capacitor with the same voltage rating or higher.
Capacitors are the kind of component that can usually be replaced by visiting your local electronics retailer.
Step 7: Remove the Capacitor
The polarity of a capacitor is an actual thing. This means they are bipolar, with a positive (+) and negative (-) pole, just like a battery. Make sure you know how the capacitor’s white stripe is pointing before trying to remove it. Replacement capacitors must be installed in the same orientation as the old one.
Step 8: Get the Appropriate Repair Kit
Now that you know which capacitors are malfunctioning, you can replace them.
You must use a capacitor with the same rating and specifications when replacing it. There are three different quality levels:
Step 9: Time to Install New Capacitors
Insert the capacitor, paying particular attention to where the negative terminal goes. Simply heat the solder with a soldering iron until it melts, and then insert the capacitor leads into the hole.
To keep the capacitor from falling out, simply bend back the leads. Then, solder the lead with your soldering iron until it melts. A few passes with the soldering iron over the lead and solder will help melt the solder cleanly onto the lead. When connecting capacitors, you can use solder flux to ensure a clean solder joint. Simply wipe the area with a wet cloth to remove any flux or solder residue.
Step 10: Reverse the Process
- Use the six screws to secure the circuit board.
- Reconnect all seven wire harnesses.
- Put a new back on it.
- Turn on the TV and revel in your financial success.
The loud pop screen turned black
There may be other damaged parts that you didn’t repair. For example, checking voltages, shorted power transistors, diodes, etc. Next, unplug the TV’s power chord, disconnect the wire connecting the power board to a mainboard, reattach the power cord, and turn on the TV to verify the backlight.
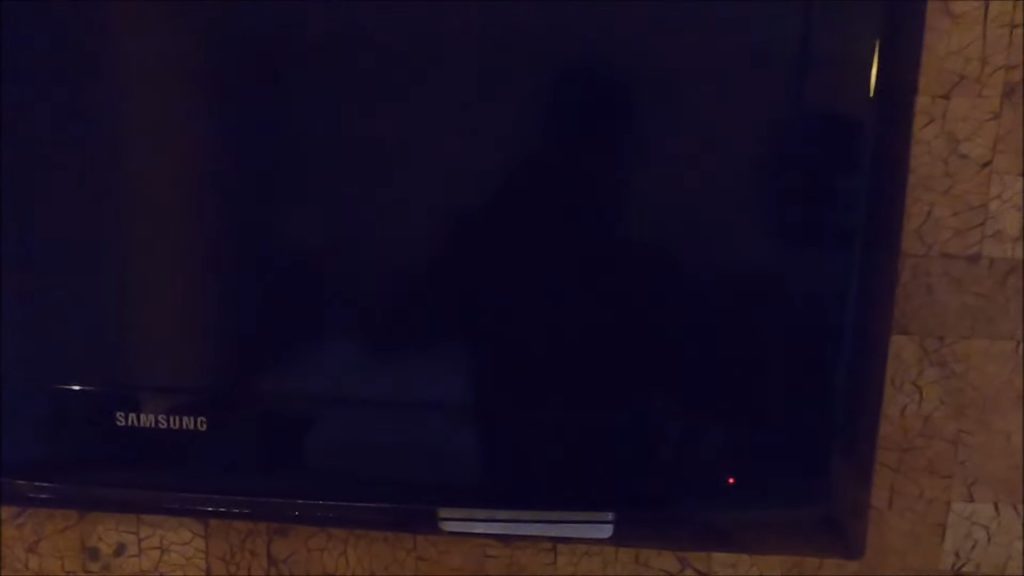
Samsung TV won’t turn on, but the red light is on
This problem could be due to a few different factors. Make sure the TV is correctly plugged into an outlet as a first step. A problem with the power supply could be to blame if the red light remains illuminated even when the TV is plugged in. A damaged HDMI port or an un-updated firmware may also cause the problem. Change the port and update the firmware version.
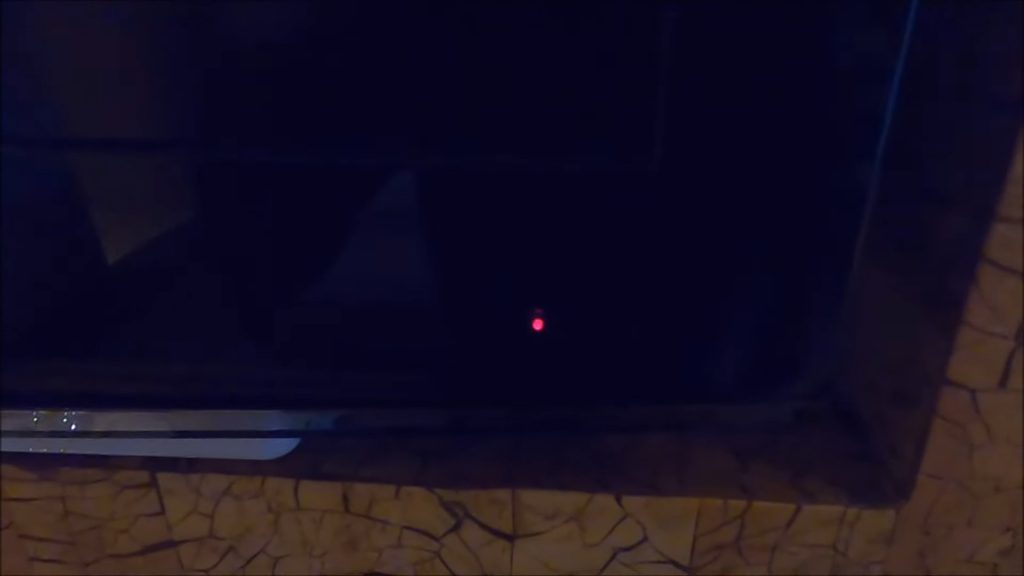
Samsung TV won’t turn on the blinking red light
Turning off and on the power is the simplest and safest way to fix your Samsung TV won’t turn on the blinking red light. To power cycle your Samsung TV, follow these steps:
- Power down your Samsung TV by switching it off and removing the plug from the wall.
- Let the battery idle for a minute. Now, press and hold the TV’s Power button for fifteen seconds.
- Next, connect your Samsung TV’s power cord to an electrical outlet. When a steady red light appears, the device is connected to power.
- To activate your smart TV, please press the Power button.
- If the issue has been resolved, try powering down the device and turning it back on using the remote. As soon as it stops powering on, you know you have a faulty remote; try giving it new batteries and seeing if it works properly now.
You can also check if you have problems with the LCD backlight of your Samsung TV; you may proceed to do the flashlight test. When you turn on your TV, the backlight system illuminates the LCD to create a clear and bright picture.
- Get your Samsung TV set going. Then, turn on your torch and position it within a few feet of your screen.
- Look to see if the image is too weak to make out details. If you notice one, your LCD backlight is probably failing.
- Contact Samsung Support and have their TV experts deal with the issue.
Samsung TV problems turn on and off
- Turn off the TV and leave it unplugged for a minute.
- Remove the plug from the TV’s wall socket or surge protector, and then leave it unplugged for thirty seconds.
- Check to see if the power cord has been damaged.
- Examine the power cord to determine whether or not there is any noticeable wear and tear.
- You can search for your TV model to get your required power cord.
- Replace the plug on the power cord with the outlet on the wall.
- If you were utilizing a surge protector, you should use a wall outlet for the time being.
In some instances, the issue might be fixed by installing the most recent version of the software.
How to stop pop-up notices on TV?
If you have a Samsung remote, you may access the menu by pressing the button labeled “Menu,” then selecting “Smart Features,” “Terms & Policy,” and then unchecking the box labeled “I consent.” Instead of “I consent,” your model can say anything like “I disagree with the Privacy Policy.” In that scenario, you should make sure that the box is checked.
Additionally, you can decline the SyncPlus privacy policy to eliminate those interactive pop-up adverts. To disable the “I consent” checkbox for the SyncPlus Privacy Notice, use your remote to navigate to Menu> Smart Features> Terms & Policy> SyncPlus Privacy Notice.
We hope that this article has helped you troubleshoot your Samsung TV. If your TV won’t turn on, you can try a few things before calling a technician. To troubleshoot, check the TV, remote, cable, and other parts from where the problem originates. Afterward, take the necessary steps. If these solutions don’t work, you may need to call a technician to look at your TV.
FAQs
This is the situation in which your TV is powered on and “functioning,” yet there is no picture displayed on the screen. The lack of a signal from the source device is the typical reason a Samsung smart TV would display a fatal black screen. If you connect your Samsung smart TV to your cable box or satellite receiver utilizing an HDMI cable, you will need to check that the port on your TV that the cable box or satellite receiver is connected to is the right.
Unplug the power cord from the outlet. Keep your finger firmly pressed on the on/off switch of the TV for ten seconds while the power cord is unplugged. Reconnect the electrical cable to the outlet after releasing the button and waiting a few seconds. Now you can turn on your Samsung TV and resume regular operation.
The TV produced by Samsung is made of a composite material that includes metal and plastic. Because of how temperature affects them, these materials can grow or shrink depending on the conditions. As a result, you might occasionally hear a popping or cracking sound if anything is expanding or contracting. These noises are harmless and will not interfere with your TV’s functioning or damage the device.
Take a close look at the fuse wire. Whenever there is a gap visible between wires or a dark or metallic smudge on the glass, a TV fuse has completely blown.
You can switch off the TV by depressing and holding the Power button down until it turns off. Then, hold the Power button until the TV responds to your command and turns back on.
To disconnect the TV, turn it on before you unplug the power adaptor. Then, after waiting a minute and a half, plug the adaptor in. After being plugged in, the TV will restart on its own.
