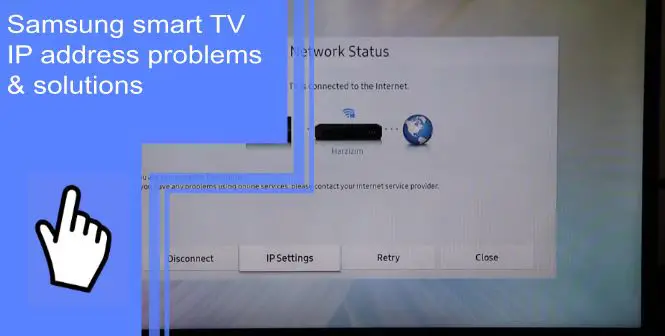
Many factors can affect IP address issues, including outdated software, bugs, blocked MAC addresses, incorrect DNS settings, and other factors. Samsung Smart TV IP address problems can lead to your Samsung TV not connecting to Wi-Fi. We have compiled a list of IP address issues you may encounter with your Samsung TV and how to fix them. Read on!
What is the IP address for my Samsung TV?
What you will find in this article
ToggleAll Smart TVs have IP addresses of their own. So if you want to find the IP address for your Samsung TV, you must look for it in the network settings.
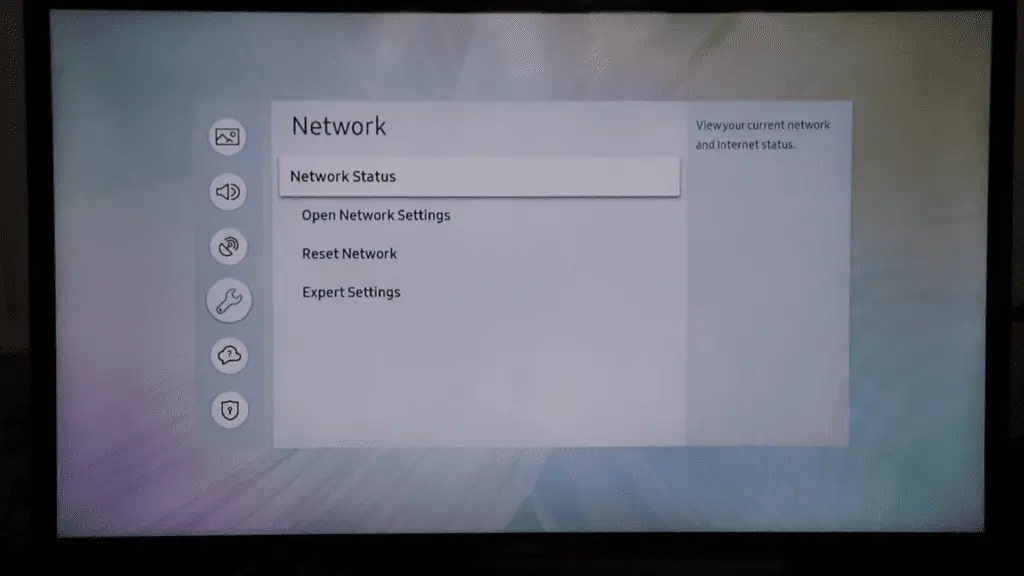
- First, press the Menu option on the remote.
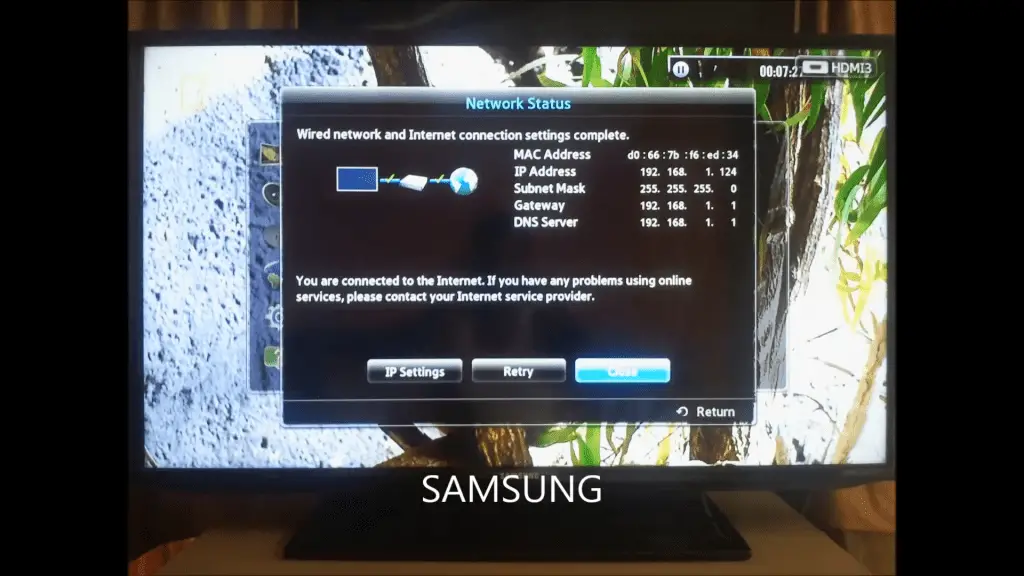
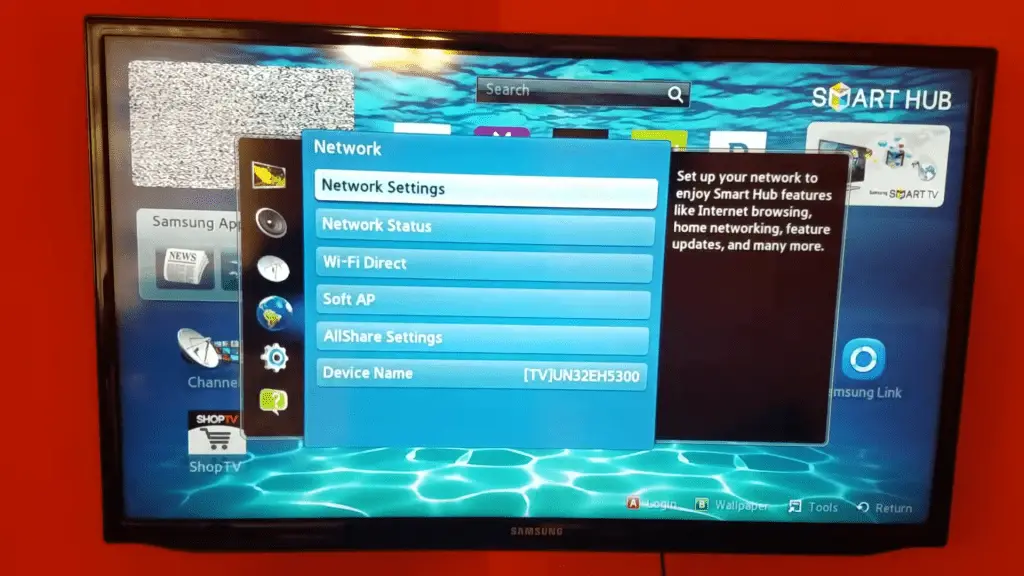
- Then select Network> Network Status.
- You’ll see whether you’re connected to the internet.
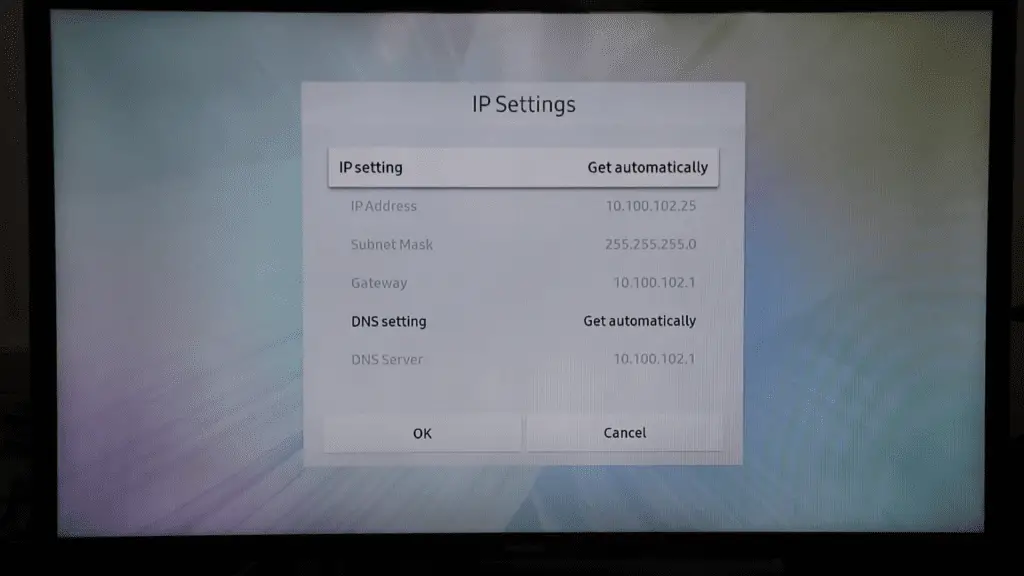
- Next, go to the IP Settings.
- Your IP address will be listed there.
How to Check Your Samsung TV’s IP Address?
You can find your TV’s IP address using your phone, router, or even discovery tools.
1. Check IP Address Using Your Phone
First, you must ensure your TV and phone share the same internet network. Next, download the SmartThings app on your phone.
- Log into the Samsung account or open a new account.
- Add a new device by tapping the plus button.
- Select the Samsung TV.
- Navigate to Settings> General Settings.
- Choose Network> Network Status.
- Go to IP Settings.
- The IP address for Samsung TVs will be on the screen.
2. Check IP Address Using Your Router
You can see the devices connecting to the network and corresponding IP addresses through the router. Using a phone or computer, you can check your IP address.
- Open a browser and navigate to Router Login Page.
- Enter your login information.
- You’ll see connected devices listed.
- Choose your TV.
- The IP address will be there.
3. Using discovering tools to check IP addresses
It is possible to use IP tools such as Fing, Network Scanner, MAC IP List, etc., for network discovery and troubleshooting. People usually use these apps to search for unknown devices leeching off their Wifi network. For example, using an app like Fing, it is possible to find out the IP address of the Samsung TV easily.
- Open Fing.
- Select Devices> Scan.
- The list of connected devices will be on the screen.
- Each device has its IP address listed.
- Find out your TV from the list, then check its address.
4. Get to Know Your Address
Knowing your TV’s IP address can sometimes be helpful. For example, you can write down the IP address or memorize it. However, it’s pretty quick and easy to find the IP address, so no worries, even if you forget them.
How do I manually change the IP address on my smart TV?
To manually change the IP address on your Samsung Smart TV:
- Go to Menu> Settings> Network.
- Select Network Status.
- Select IP Settings.
- Select the DNS setting and choose Enter Manually.
- Enter your Smart DNS location provided by your ISP.
Fix: Samsung TV IP address problems
For better results, try these solutions one by one in a specific order to avoid conflict.
1. Restarting TV
If you have corrupted network settings, restart the TV with an alternative method.
- Turn on the TV and keep it running for five minutes.
- Disconnect the power cable directly from the outlet.
- Wait for 20 minutes at least and restart the TV.
- Enter the Wifi password if prompted.
2. Restarting the Internet
If restarting the TV doesn’t work, try to power cycle the internet router.
- Power off your internet router.
- Wait for 10 minutes, then turn the power back.
- Let the router load the internet settings.
- After getting internet access, connect the TV to the Wifi network.
3. Changing the Internet Connection
You can try changing the internet connection if you cannot connect to the internet.
- Turn on your TV and go to Wifi Settings.
- Turn on the Hotspot on your phone.
- When the mobile hotspot appears on the TV’s available connections list, connect to it.
- If the TV connects to the mobile hotspot and works properly, your router probably blocked your TV’s MAC Address.
- Contact your ISP to unblock the MAC Address of your TV.
4. Firmware Update
While having IP address issues, you won’t be able to connect to the internet. Instead, you’ll have to download the software update through your computer.
- Go to the Samsung Support page and select the model of your Samsung TV.
- Download the Firmware and wait until it finishes.
- Extract the downloaded files to a USB that has no data on it.
- Plug the USB into the TV and press the Menu button on your remote.
- Then select Software Upgrade from the Support menu.
- From the methods of update list, select the By USB option.
- Select OK to install the new update and wait for it to complete.
- Try to connect to the Wifi after finishing the update.
5. Refreshing DNS Settings
The DNS settings on the TV may cause conflicts with the router. In that case, you’ll need to reinitialize the internet settings on the TV.
- Press the Menu button on the remote and then go to Settings.
- Select Network> Network Settings.
- Tap on Start and then choose IP Settings.
- Select DNS Mode and Manual Mode, and then select OK.
- Enter 8888 and then tap OK.
6. Performing Hard Reboot
Try following the steps to do a hard reboot:
- First, press and hold down the Power button on the remote until the TV reboots.
- Let go of the button when the Samsung logo is on the TV screen.
- After turning on the TV, check if the internet connection is working.
7. Edit the TV Settings
If you’re still having Samsung TV internet connection problems, perhaps it’s due to the wrong configuration settings on the TV. Consider the following instructions while editing your TV settings.
1. Refresh Resources in the Smart Hub
- Open Smart Hub on the TV and select Source.
- To refresh the sources, press the A (red) button and launch any app to check if the issue is resolved.
2. Change the TV Name
- Go to Settings on the TV and navigate to Network.
- Select the Device Name and enter a new name for your TV.
- Reboot the TV.
3. Reset the Network Settings of the TV and Disable IPV6
- Go to Settings and then select General.
- Select Network> Reset Network Settings.
- Choose to Confirm to reset the settings and wait for it to finish.
- Turn off the TV and wait for a minute.
- Turn on the TV again and connect it to the internet network to check if it’s working.
- In case not working, go to the Network Settings and Disable IPV6.
4. Disable Power on with the Mobile
- Go to Settings and select General.
- Select Network> Expert Settings.
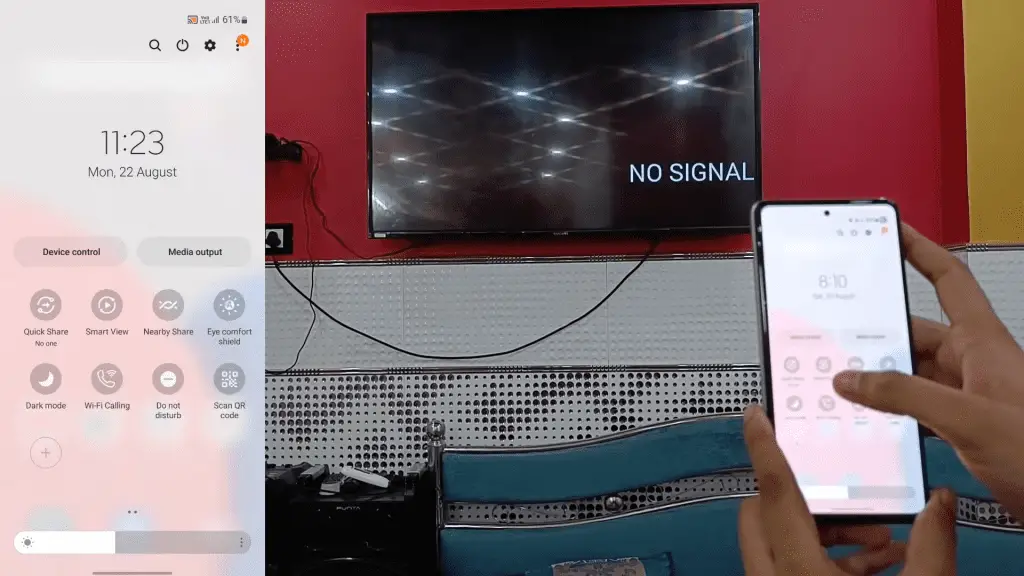
- Select Power on With Mobile and Disable it.
- Reboot the TV.
5. Set the Usage Mode to Home
- Open Settings and select General.
- Expand to Usage Mode.
- Enter PIN 0000 and choose Home Mode.
- Reboot your TV.
6. Disable Auto Launch Last App and Autorun Smart Hub
- Go to Settings> General.
- Select Smart Features> Autorun Last App.
- Disable it and then reboot the TV.
- If Wifi still not working, then go to Smart Features again.
- Disable Autorun Smart Hub.
7. Disable the AnyNet+ Feature
- Open Settings>General.
- Select External Device Manager.
- Open AnyNet+ and disable it.
8. Change the Time Zone of Your TV
- Go to Settings> General.
- Choose System Manager and select Time.
- Select Clock and change the Time-Zone of the TV.
- If this option is unavailable, then set the Clock to Auto.
- Reboot your TV.
9. Disable the Soft AP Option
- Go to Settings>Network.
- Select Soft AP and tap on Off to disable it.
- Reboot the TV.
10. Reset the Smart Hub of Your TV to Defaults
- Open Settings> Support.
- Select Self Diagnosis.
- Select Reset Smart Hub and enter PIN 0000 if asked.
- Wait for the reset to complete.
11. Change the Country of Your TV
- Open Smart Hub on the TV.
- Press the >> (fast forward), 2,8,9, << (rewind) buttons on the remote.
- Change the Country option to another country and accept the Samsung terms & conditions.
12. Change the Wi-Fi Region and Perform an SVC Reset
- Turn off the TV.
- To enter the Service Mode, press the following buttons on the remote: Info, Menu, Mute, 1, 8, 2, and Power in this sequence.
- Open Control> Sub-Option and change the Wi-Fi Region to A.
- Apply the changes and Reboot the TV.
- If the issue persists, go into Service Mode again and open SVC.
- Choose the SVC Reset and restart the TV.
- After your TV finish restarting, reconfigure the settings if asked.
8. Edit the Router Settings
Wrong configurations on the router settings can also cause IP address issues. Following are some changes; you can make in the router settings:
- Update the router firmware.
- Check whether the MAC address of the TV is blocked.
- For a multi-band router, disable one of the bands or use different names for the bands.
- Disable the Automatic Channel Switching.
- Change the wireless mode to Legacy, G, N, or Auto.
- Disable IPV6 in the router settings.
- Enable UPNP in the router settings.
- Unhide it if you’re using a hidden SSID.
- Rename the Wi-Fi.
- Disable Auto-optimize Network or Channel Optimization in the router settings.
- Disable Connect High-Performance Devices to 5 GHz Only in the router setting.
- Enable the WPS switch on the TV and check if it’s working fine.
- Change the DHCP settings of the router if none of the above solutions work.
How do I fix my Samsung failure to obtain an IP address?
Your Samsung TV won’t connect to Wifi if you’re getting the “Failed to obtain IP address” error on the screen. Issues with the router, damaged hardware, software conflicts, incorrect wireless settings, etc., are common reasons for this error.
To fix this, the simple solution is to restart your TV and the router. You can also try deleting and then adding the network again. This is how:
- Go to Settings> Wi-Fi.
- Select your network and click on Forget Network.
- Select the network again, and reconnect to it by entering the password.
How do I fix IP configuration failure on TV?
IP configuration failure stops the TV from connecting to the internet network. For example, it can happen because of poor Wi-Fi signals, an incorrect encryption technique, or enabled MAC filtering.
You can try to fix this issue by assigning a static IP address to your TV. To do that:
- Open Settings and go to Network & Internet.
- Select Wi-Fi and long-press the network you’re unable to connect to.
- Choose Modify Network> Show Advanced Options.
- Find out the IP setting and tap on Static.
- In the IP address, change the last number to any number between 1-225.
- Then, try to connect to the internet.
Samsung TV IP auto setting failed
If you’re having IP automatic setting failure on your Samsung TV, you can manually configure the IP settings. Or you can try doing the following:
- Check the router to ensure the DHCP server is enabled and reset the router.
- If the issue remains, contact your ISP.
Samsung smart TV IP address has disconnect problems
If your Samsung Smart TV IP address has issues connecting to the internet, you can try changing the IP settings.
Incorrect configuration issues happen if you unintentionally set the IP setting to “Obtain Manually.” This means manually inputting the IP address when you want your TV to connect to the internet. To fix this, you need to set the IP setting as “Obtain Automatically”:
- Press the Menu button on the remote.
- Select Network> Network Status.
- Select IP Settings.
- Click on Obtain Automatically.
You can also try changing the DNS settings:
- Go to Settings> Network> Network Status.
- Select IP Settings and then choose DNS Settings.
- Change to Obtain Automatically from Enter Manually.
- Enter 8.8.8.8 in the Primary DNS address box and 8.8.4.4 in the Secondary DNS address box.
- Save the changes.
- Turn the TV back on.
Similar to other Smart TVs, Samsung TVs have IP addresses. Unfortunately, there are a lot of IP address problems with Samsung Smart TVs as well. The above article discusses configuration issues, auto settings failures, disconnect problems, etc., and how to troubleshoot them. So, follow them and solve the IP address issue on your Samsung TV.
Frequently Asked Questions
You can find the IP address for your TV by going to the settings. First, press the Menu option on the remote. Then select Network> Network Status. It’ll show whether you’re connected to the internet. Next, go to the IP Settings, and you’ll be able to see your IP address there.
Yes, TVs have their own IP address. Every Smart TV has an IP address. Routers use IP addresses to direct the network traffic to their appropriate devices. That’s why two devices on one Wi-Fi network can’t have the same IP address.
The IP address is not visible on the TV, so people are often confused about it. Instead, you can find the IP address by going to the network settings. Follow the settings options to Menu> Network> Network Status> IP Settings. You’ll be able to see the network information, including security, signal strength, MAC address, and IP address.
You can change back your IP address by opening settings. For example, go to Menu> Settings> Network> Network Status. From the network status page, select IP Settings. Then click on the DNS setting and choose Enter Manually. Finally, enter your Smart DNS location provided by your ISP (Internet Service Provider). Thus, your IP address will be changed.
If you’re wondering why my Samsung TV is not finding my network, there can be many reasons behind it. First, check that your router is turned on and your TV is within range. Then, disconnect multiple devices connected to the same network, update the TV software, or reset the router. Next, check if the network settings have the correct configurations and change the DNS server if necessary. And if nothing else works, then factory reset your Smart TV.
