Samsung’s Smart TV has many features you can use it for, but the only problem when using it with a Denon receiver is that the Samsung TV does not have ports for audio and video input.
If you have difficulty connecting Samsung smart TV to your Denon receiver, this article is for you. Here we share a few steps that will help you solve how to connect Samsung smart tv to the Denon receiver problem.
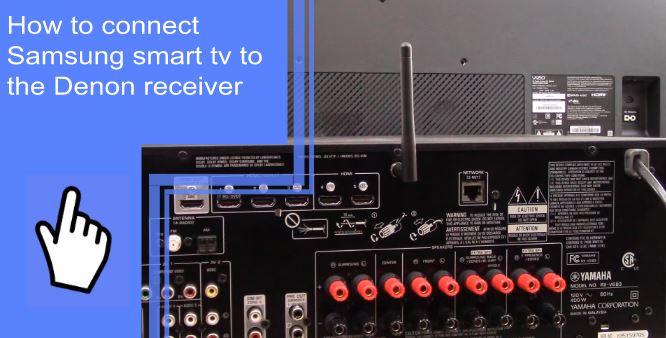
How to Connect Samsung Smart TV to Denon Receiver Easily?
Here are some tips on how to connect Samsung smart TV with a Denon receiver:
Method 1: You’ll need an HDMI A/C cable to connect your TV to the receiver
You will need an HDMI 1.4 cable or higher to use this. The great thing about an HDMI ARC port is that it lets you transmit audio from a TV’s HDMI port back to the TV for better audio quality.
The ARC feature essentially mirrors the audio being played back on your receiver onto the video on your TV. A single HDMI cable is all you need to connect your TV to the Denon receiver.
It supports audio signals going both ways to complete the home theater experience fully. It sends audio signals from the Denon AVR to your TV and vice versa, which cuts out other processing to minimize signal latency and deliver higher sound quality. You can only use HDMI ARC on a TV with an HDMI (ARC) port.
Follow these steps to connect your Samsung TV to a Denon receiver with an HDMI cable:
Step 1: Turn Off the Devices
If you’re unsure about electrical work, contact an electrician for help. Bad wiring could seriously damage your devices and, in some cases, even kill you. Ensure both devices are turned off and the cables are unplugged before beginning.
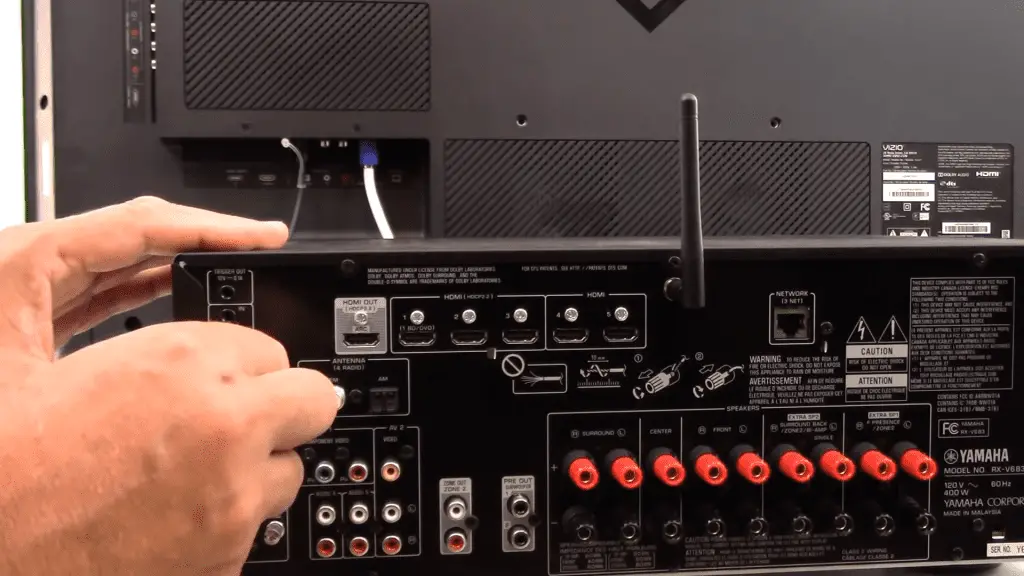
Step 2: Find the ARC HDMI ports
Your TV may also have HDMI (ARC) output and HDMI (standard) output. Depending on your TV model, it may also be called ARC. Similar to your Denon AVR, you’ll find the HDMI ARC input port on many newer TVs.
Always refer to the user manual if you’re unsure which port your firebase is on.
Step 3: Connecting your TV with an HDMI cable
Start by connecting your TV back to an HDMI 1.4 cable. Then, connect the other end to the back of your Denon receiver. You can also double-check your speaker connections.
Step 4: Power on the Receiver and the TV
Switch on your Samsung Smart TV and Denon Receiver after reconnecting their power supplies. Then, take a deep breath because you’re about to start enjoying your fantastic home theater experience.
Step 5: Finish the Setup
Here are the steps to get your Denon AVR set up:
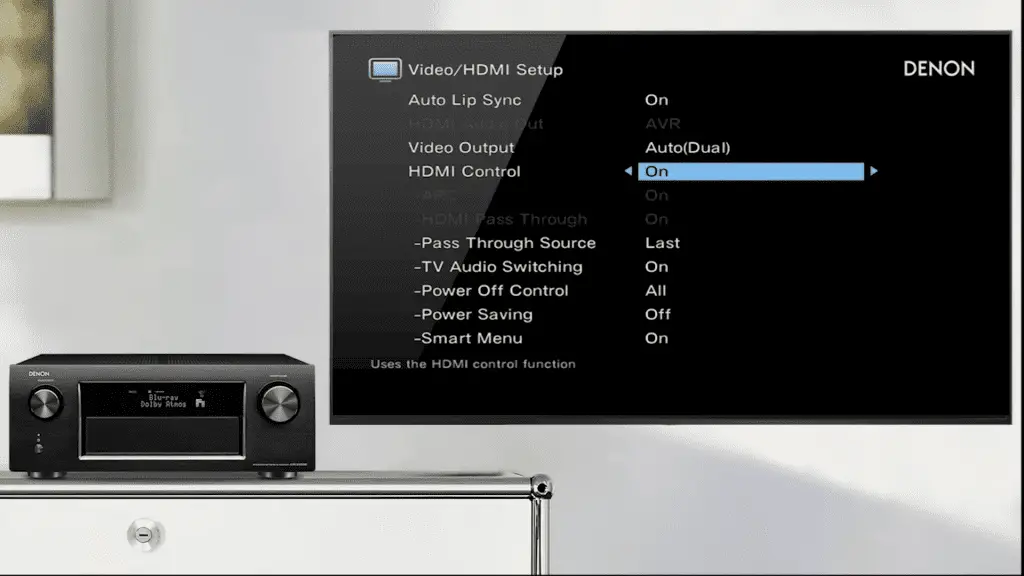
- The first step to getting started with the Denon is going to the “Setup” menu. Simply press the “SETUP” button on the remote and select “Setup.”
- To access the video, scroll down and click on Video.
- Click on the HDMI setup.
- Select HDMI Control and turn it on.
- Select your favorite TV channel.
Method 2: Connecting with Optical Cable
You can use this method if you need to use both an HDMI and an optical cable.
Step 1: Switch Off the TV and Denon AVR
Turn off the TV and Denon receiver. Then, unplug your devices’ power and ensure you’ve given them time to cool off.
Step 2: Find the HDMI & Optical Ports
Next, find where the HDMI and Optical ports are located.
To connect your TV to your Denon receiver, you’ll want to find the HDMI cables and optical input on the TV. Then, look for HDMI inputs on your Denon receiver.
Optical ports are located on the back of Denon AVR. The first port is labeled “TV AUDIO,” and the second is labeled “MEDIA PLAYER.”
Step 3: Connect Your TV to the Denon Receiver
Ensure your TV has an HDMI output at the back. Then, connect the other end to an appropriate HDMI input at the back of your Denon receiver.
Connect the optical cable to the TV’s optical output to get started. Your Denon AVR will have a port labeled “TV AUDIO” at the back. Plug the other end of the cable into that port.
Step 4: Turn on the Receiver and the TV
Start your Samsung Smart TV and Denon receiver by connecting the power supply (plug and cord).
Step 5: Final Setup
These are the steps for a successful HDMI setup:
- Navigate to the Denon Setup menu.
- Check out the Video section.
- Start by choosing HDMI Setup.
- Go to HDMI Control> ON.
To activate Pass through, press the “HDMI Control” button on the sub-menu.
- Go back again and select the Setup Menu.
- It is necessary to ensure the TV’s optical inputs are connected to its audio output.
- To make the input work, go to the setup menu and click Inputs> “Inputs Assign.”
- Goto TV Audio Settings.
- For optical input, go to OPT1.
- Close the menu.
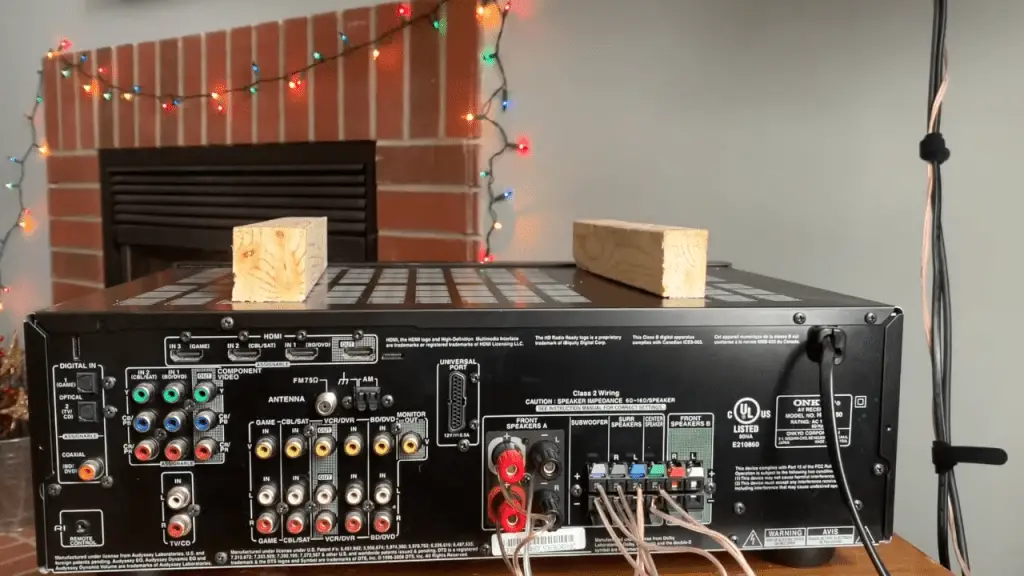
Method 3: Using a Coaxial Cable & HDMI
There are too many cords and ports on the back of your Denon receiver.
You’ll need two coaxial cables to connect your digital audio output and video input. You’ll use one of the coaxial cables and an HDMI port for connection. The steps are:
Step 1: Power Off Both Devices
First, both devices should be powered off. Then, disconnect both power cords and turn off the devices.
Step 2: Locate the HDMI and Coaxial ports next.
To connect your Samsung TV to your Denon AVR, look for the HDMI and coaxial outputs on the back of your TV. Then, just find them and plug them in!
The next thing to notice about the top of this receiver is that there are six assignable HDMI inputs, all of which are compliant with the 4K/HDCP 2.3 standard. So it doesn’t matter what you use.
Step 3: Connect the TV to the Denon Receiver
HDMI cables should be connected to HDMI outputs on your TV. There are six HDMI inputs on the back of your Denon receiver. Connect the other end to one of them.
Connect a coaxial cable to the coaxial input on your Smart TV. Last but not least, connect your Denon AVR’s coaxial digital audio input to the other end.
Step 4: Turn on the TV and receiver
Samsung Smart TV and Denon receiver should be powered up again.
Step 5: Finish the Setup Configuration
Follow these steps:
To return to the Setup Menu, move to the Denon Setup Menu.
- Scroll down and select the Video tab.
- Next, select “HDMI Setup.”
- Go to HDMI Control and turn it ON.
- We recommend also activating HDMI Passthrough from the HDMI control sub-menu.
- Navigate back to your Setup menu.
To finish the setup, follow these steps:
- Under the Setup Menu, go to Inputs > Input Assign.
- Go to TV Audio.
- To assign the coaxial input connector, go to COAX1.
- Exit from the menu.
Connecting the new Denon 8K receiver to the Samsung 900R series 8K QLED
First, update the software on the AVR. Then, connect an optical cord from the AVR to the One Connect Box (the TV must have an optical output). Change the TV to the optical port for audio output and plug one end of an 8K HDMI cable into 8K Port 4 to the One Connect Box. Plug another end into the 8K Output port on the AVR.
Now, unplug the AVR and turn off the TV for a few minutes. Then plug it back in, turn the set on, and presto! The TV will catch the signal and can access the 8K resolution setting using the remote’s setting switch.
Unable to connect a Denon amplifier to my Samsung UHD TV
This is a common problem. Many people try to connect a Denon amp to their Samsung UHD TV, but they cannot. Here’s what happens:
1. You enable the ARC function on the TV and the Denon.
2. Then, you plug the Denon’s HDMI output into the port specified in the TV’s manual.
3. Finally, you press the power button on the Denon.
4. At this point, the TV should start sending audio back to the Denon.
5. However, if you still can’t hear anything after pressing the power button, there might be a problem with the connection between the two devices.
Samsung TV and Denon Receiver sound issues
Set the “HDMI Control” to “On” when setting this up. The receiver will likely automatically default to “Off,” and if this is the case, no HDMI signals will be passed through the AV receiver’s HDMI output in standby power mode.
Samsung TV not recognizing the receiver
Ensure the HDMI cable is disconnected from the TV and the external device. Plug it into your TV after connecting it firmly to the external device. Try changing your TV’s ports if that doesn’t work. You should also select the new input on your TV once you have made the new connection.
In conclusion, connecting your Samsung smart TV to a Denon receiver is a simple process that can be completed in just a few minutes. By following the steps outlined in this article, you’ll be able to enjoy all of your favorite content on the big screen with superior sound quality. So why not give it a try today?
Frequently Asked Questions
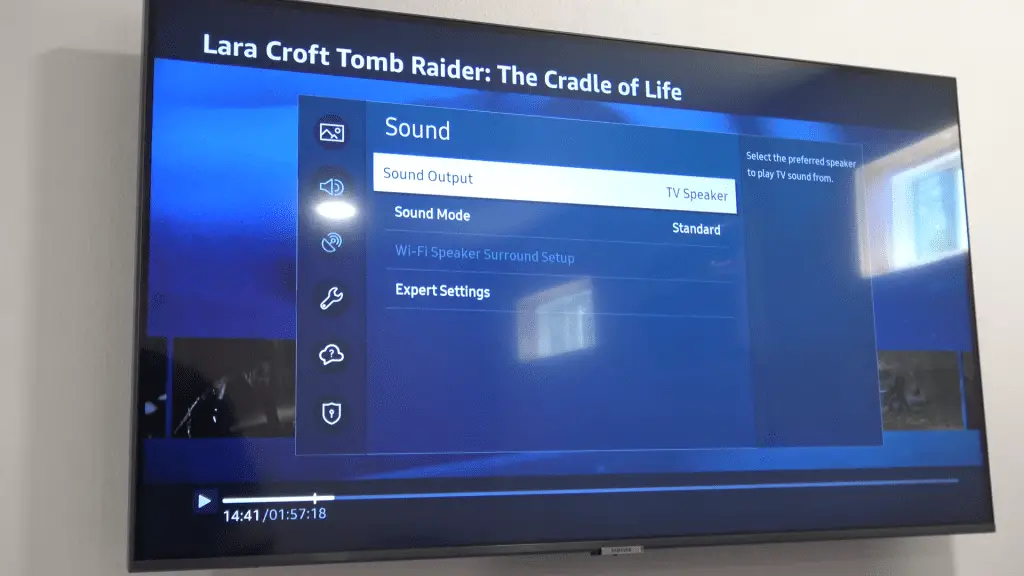
Sound doesn’t work on your TV? Here’s how to get it back. First, open Menu> Sound> Speaker Settings. Connect the receiver to the TV sound output. Next, open Menu> System> Anynet + (HDMI-CEC). Turn on the Receiver function.
Connect the HDMI cable to the TV and the AUDIO device or receiver. Next, connect the Optical Digital Audio Cable between the Optical Digital Output on your TV and your AUDIO device or Receiver. Finally, turn on your TV.
If you’re having problems with video devices, please refer to the following:
1. Ensure all video connections between sources and the receiver are secure.
2. Reseat any faulty cables to verify a strong connection.
3. Your HDMI device needs to be connected to the appropriate input on your TV.
Samsung TVs have an HDMI arc so that you can hook your TV to any monitor for crisper sound. You may purchase the Arc separately if you already have an external sound system or older TV.
When experiencing any issues related to the ARC/eARC connection, try disconnecting all other devices (like an OTT or STB), and play your content again. Other external devices may not be adequately designed, leading to glitches in the system.